Introduction
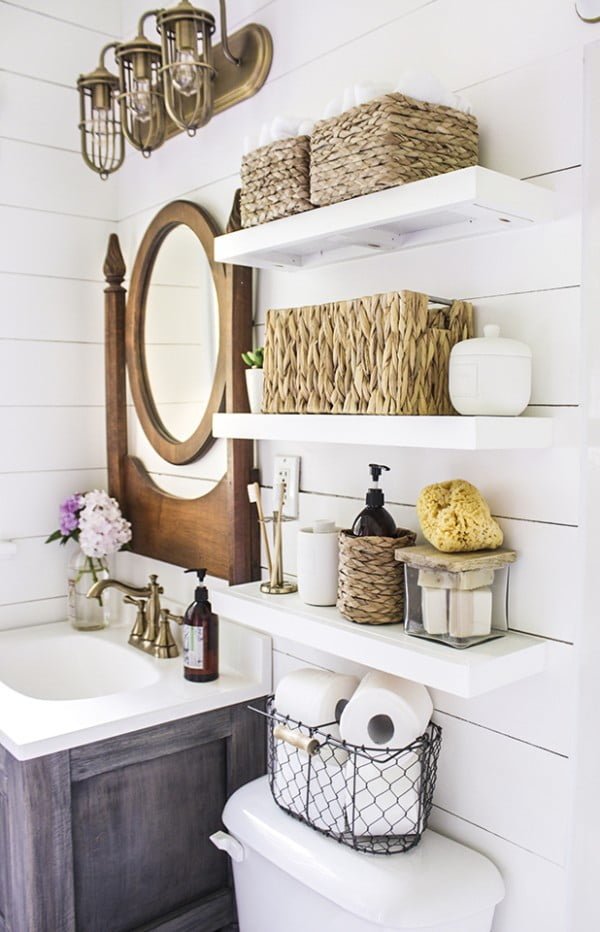
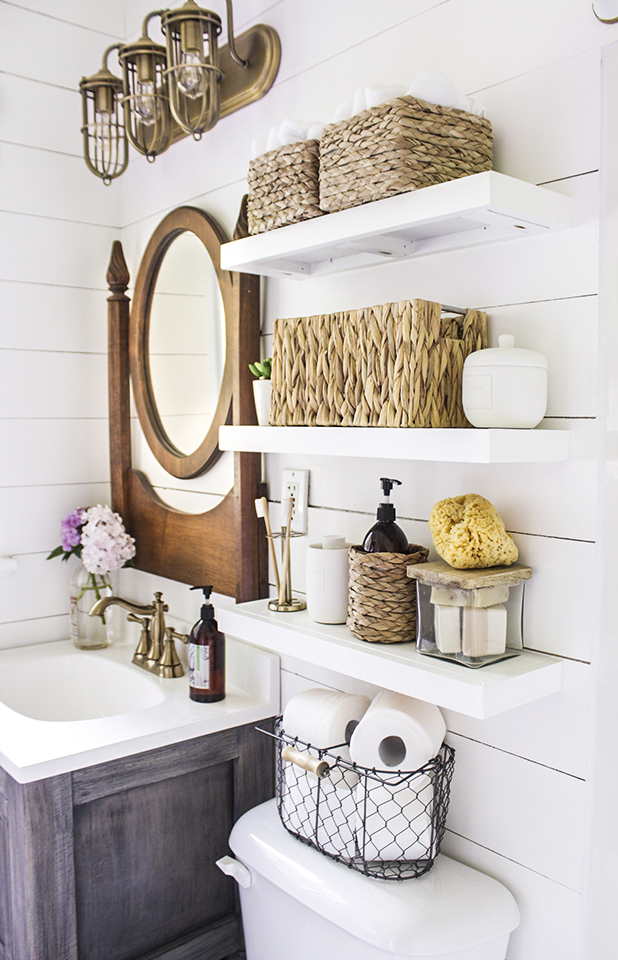
Adding floating shelves to your bathroom can be a great way to maximize storage space and enhance the overall look and feel of the room. Whether you have a small bathroom or simply want to organize your essentials in a stylish manner, this article will guide you on how to create your own floating shelves.

Gather the Materials
Before you begin, gather the necessary materials:
- Wooden boards
- Measuring tape
- Saw
- Drill
- Screws
- Level
- Screwdriver
- Sandpaper
- Paint or stain (optional)

Measure and Cut the Shelves
Using a measuring tape, determine the desired length and width for your floating shelves. Mark the measurements on the wooden boards and use a saw to cut them accordingly. Ensure that the boards are of equal length and width for a balanced appearance.

Create the Shelf Brackets
To achieve the floating effect, you will need to create hidden shelf brackets. Measure and mark the desired height for your shelves on the bathroom wall. Use a level to ensure accuracy. Next, attach the brackets to the wall using a drill and screws. Make sure they are level and securely fastened.

Sand and Finish the Shelves
Smooth any rough edges on the shelves using sandpaper. This step is essential for both safety and aesthetics. If desired, you can also apply a coat of paint or stain to match your bathroom decor. Allow the shelves to dry completely before proceeding.

Attach the Shelves
With the shelf brackets securely in place, it's time to attach the shelves. Carefully slide the shelves onto the brackets, ensuring they fit snugly. Use a level to double-check that they are straight and adjust if necessary. Once aligned, secure the shelves to the brackets using screws.

Decorate and Organize
Now that your floating shelves are installed, it's time to decorate and organize them. Consider adding decorative items such as plants, candles, or small storage baskets to enhance the visual appeal. Additionally, use the shelves to organize toiletries, towels, or other bathroom essentials for a clutter-free space.

Maintenance and Care
To ensure the longevity of your floating shelves, proper maintenance is essential. Regularly dust and clean the shelves using a soft cloth or mild cleaning solution. Avoid placing excessive weight on the shelves to prevent bending or damage. With proper care, your floating shelves will continue to enhance your bathroom for years to come.

Conclusion
Creating floating shelves for your bathroom is a rewarding DIY project that combines functionality with style. By following these steps, you can transform your bathroom into a more organized and visually appealing space. Enjoy the additional storage and the sense of accomplishment that comes with building your own floating shelves!